Overview
Estimated reading time: 6 minutes
This part provides a first step in utilizing IP control functions mainly for solution providers and engineers to develop their own systems with BRAVIA Professional Display.
The BRAVIA Professional Display platform provides IP control functions that enable users to utilize many display functions like input source change via IP. The both of HTML5 Web Applications and Android APK Applications on BRAVIA Professional Display can send IP Control commands to BRAVIA Professional Display(s), and IP-enabled external devices also can do it. 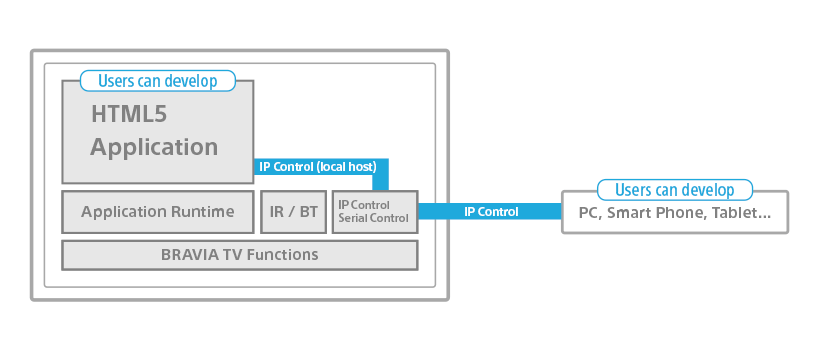
Supported Protocols
The BRAVIA Professional Display platform supports the following Sony’s original IP control protocols in accordance with various purposes.
| Protocols | OSI Layer | Format | Auth | Description |
|---|---|---|---|---|
| REST API | HTTP | JSON-RPC | Yes | It can send commands via IP to control BRAVIA Professional Display. It’s general for web developers and easy to use, then it is used in many use cases. |
| IRCC-IP | HTTP | SOAP | Yes | “IRCC-IP” means “InfraRed Compatible Control over Internet Protocol”. It can send command codes of IR remote commander via IP. |
| Simple IP control | TCP | Fixed-size Byte Stream | N/A | It supports only typical functions. All commands defined in it are available in REST API or IRCC-IP. |
What you can do with IP control
- Fundamental/Advanced functions can be executed via IP
| Function | REST API | IRCC-IP | Simple IP control |
|---|---|---|---|
| Input change/channel change | setPlayContent | N/A | setInput |
| Audio volume control | setAudioMute/setAudioVolume | N/A | setAudioMute/setAudioVolume |
| Setting configuration | setSceneSetting | N/A | setSceneSetting |
| IR remote command emulation | N/A | YES | YES |
| Power state monitoring/management | getPowerStatus/setPowerStatus | N/A | getPowerStatus/setPowerStatus |
| Launch/Terminate application | setActiveApp/terminateApps | N/A | N/A |
and more
- Multiple device control [REST API] [IRCC-IP]
- You can select target BRAVIAs by managing the IP addresses.
- Authentication [REST API] [IRCC-IP]
- You can prohibit unexpected commands with the authentication mechanism.
- Combination with your HTML5/Android application [REST API] [IRCC-IP]
- You can assign any commands to the custom layout button of your application.
- You can send any commands through your application via local network.
- All functions are enabled by Web Standard Technology with the exception of command definition itself.
TIPS:
How to check IP Address of BRAVIA Professional Display
- [HOME] Settings
- Network and Internet
- Network status
- IP address
IP Control Authentication
For security reasons, authentication is required for REST API and IRCC-IP.
Settings on BRAVIA Professional Display:
-
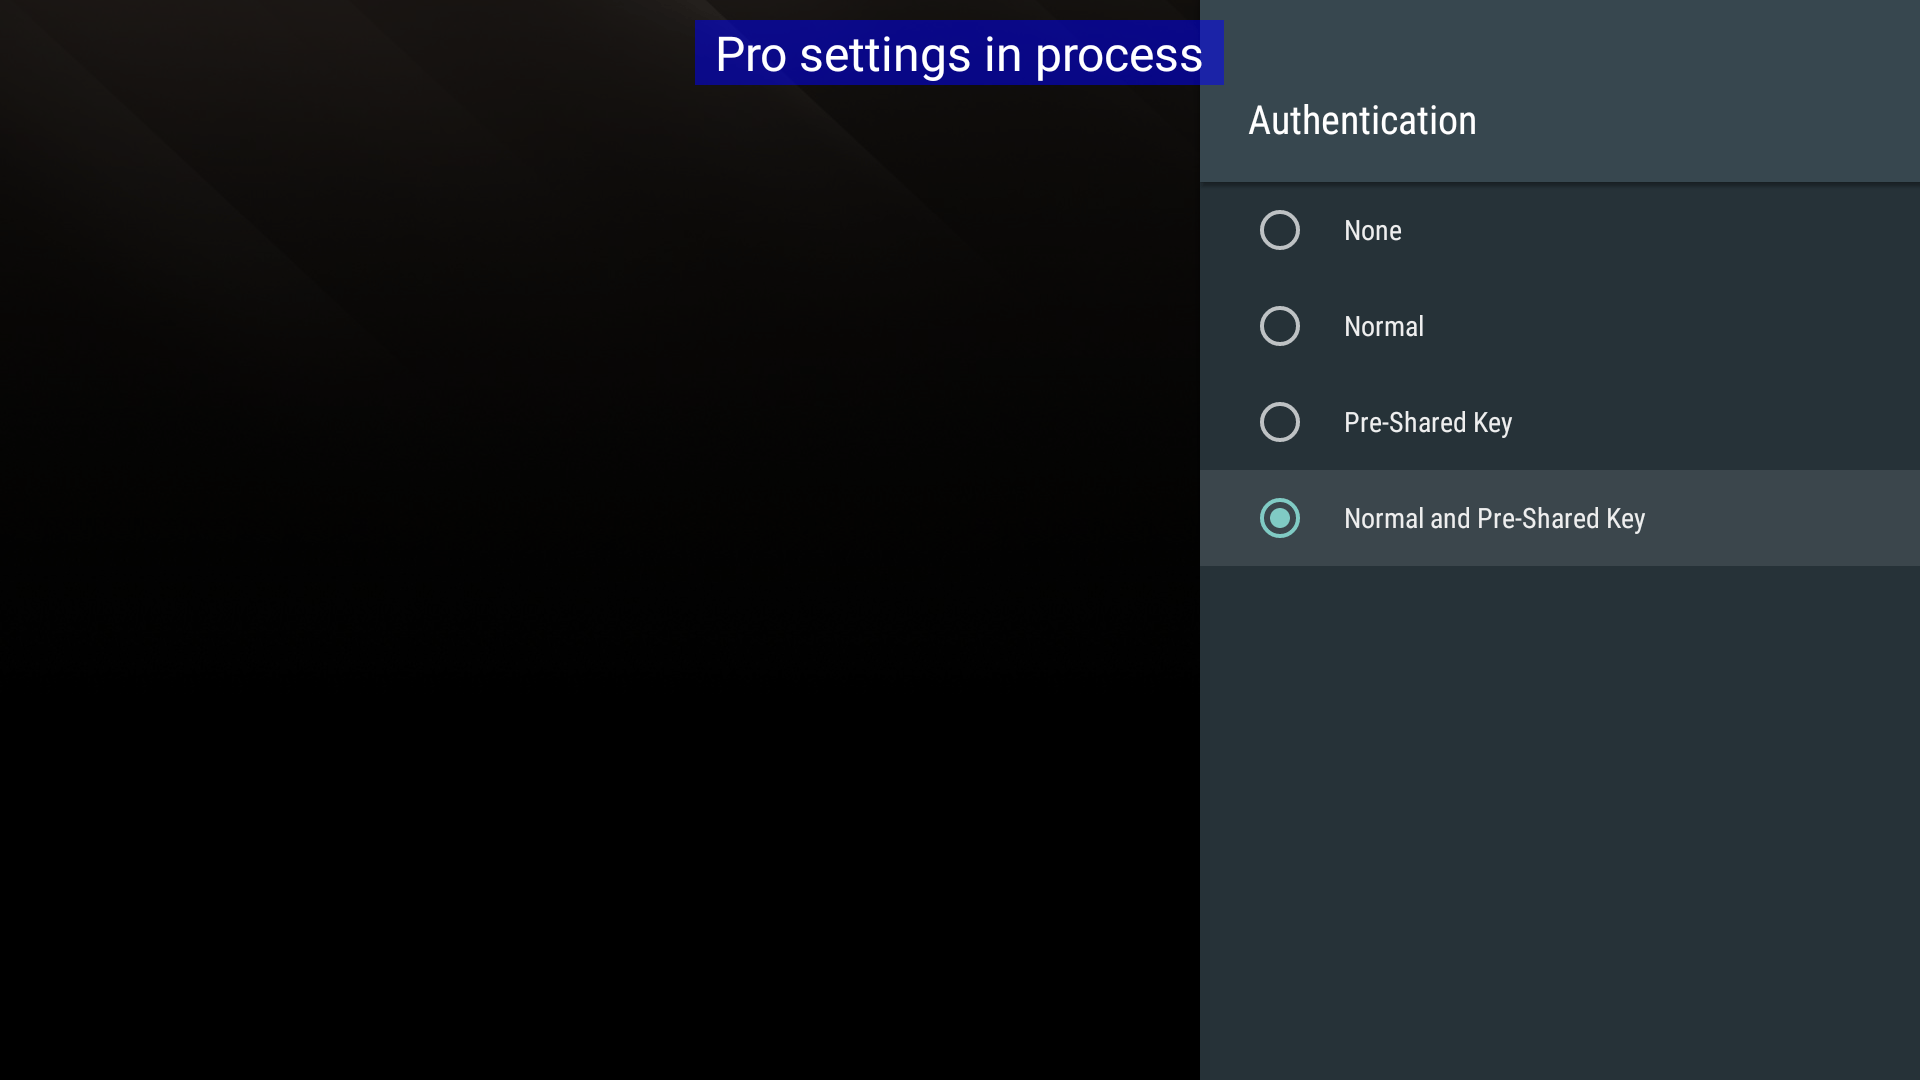
Authentication method
- [HOME] Settings
- Network and Internet
- Home network setup
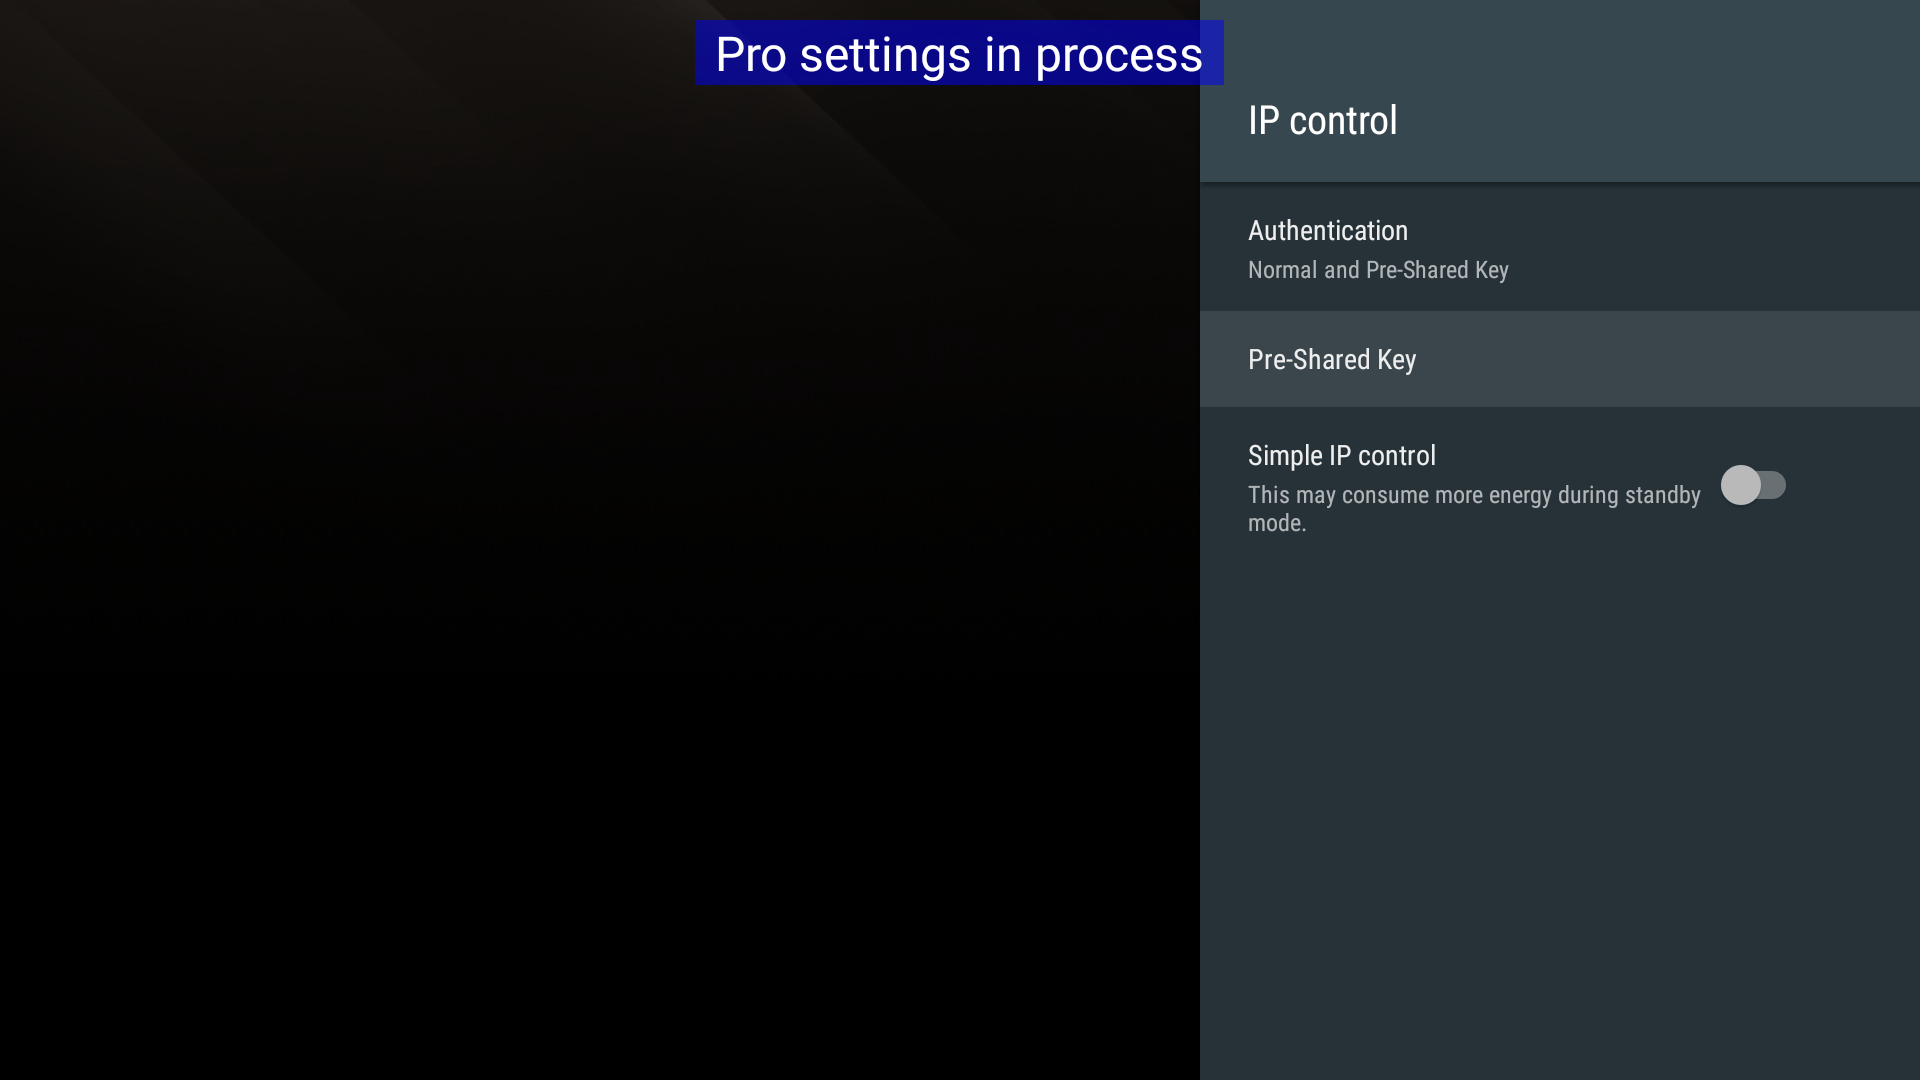
- IP control
- Authentication
- None[1]: No authentication is required to access BRAVIA
- Normal: A PIN-based authentication is required to access to BRAVIA
- Pre-Shared Key[1]: A fixed secret string based authentication is required to access BRAVIA
- Normal and Pre-Shared Key: Either a PIN based authentication or a fixed string authentication is required to access BRAVIA
[1] These options are only available in Pro settings mode.
Normally “Pre-Shared Key” is used for BRAVIA professional use, or “None” for managed network.

-
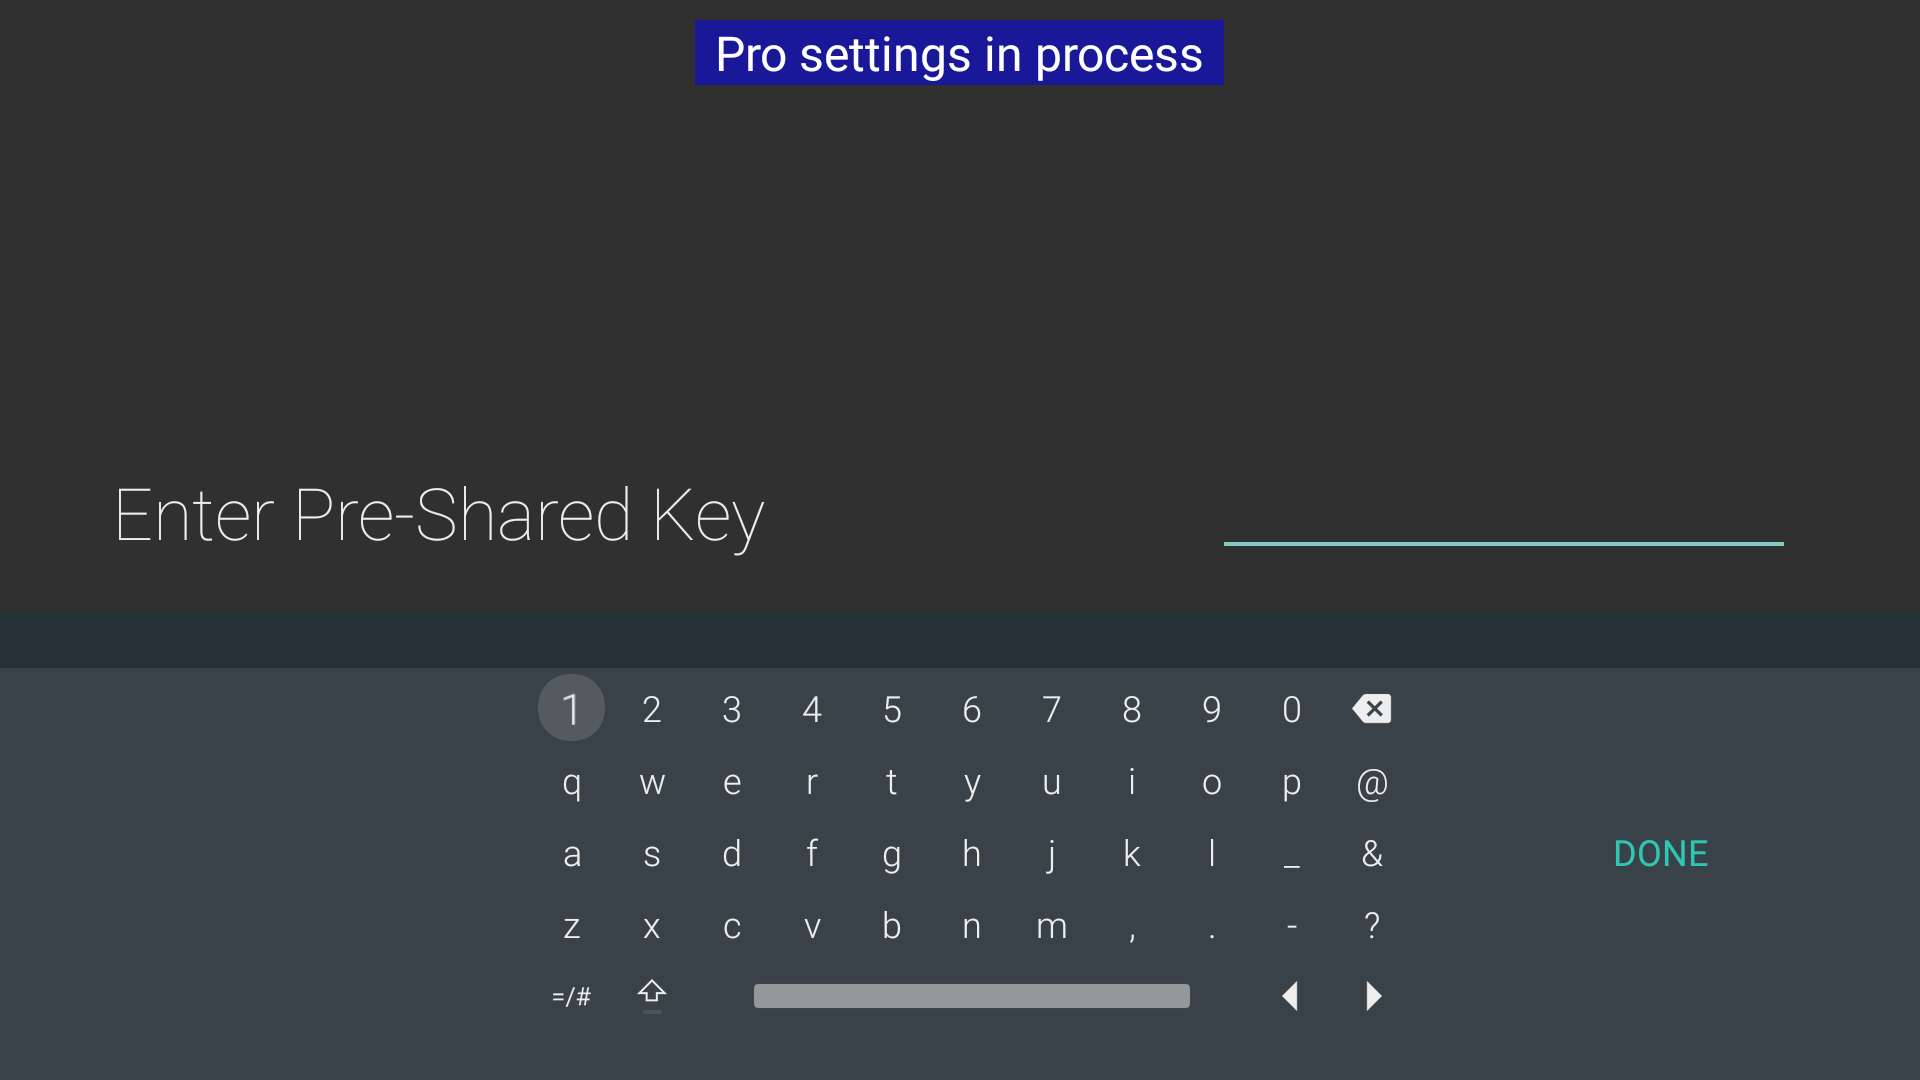
Pre-Shared Key (This setting is only available when Authentication method is “Pre-Shared Key” or “Normal and Pre-Shared Key”)
- [HOME] Settings
- Network and Internet
- Home network setup
- IP control
- Pre-Shared Key
Pre-Shared Key is User-defined secret key used for access control of IP control function. Any Pre-Shared Key string is acceptable.


-
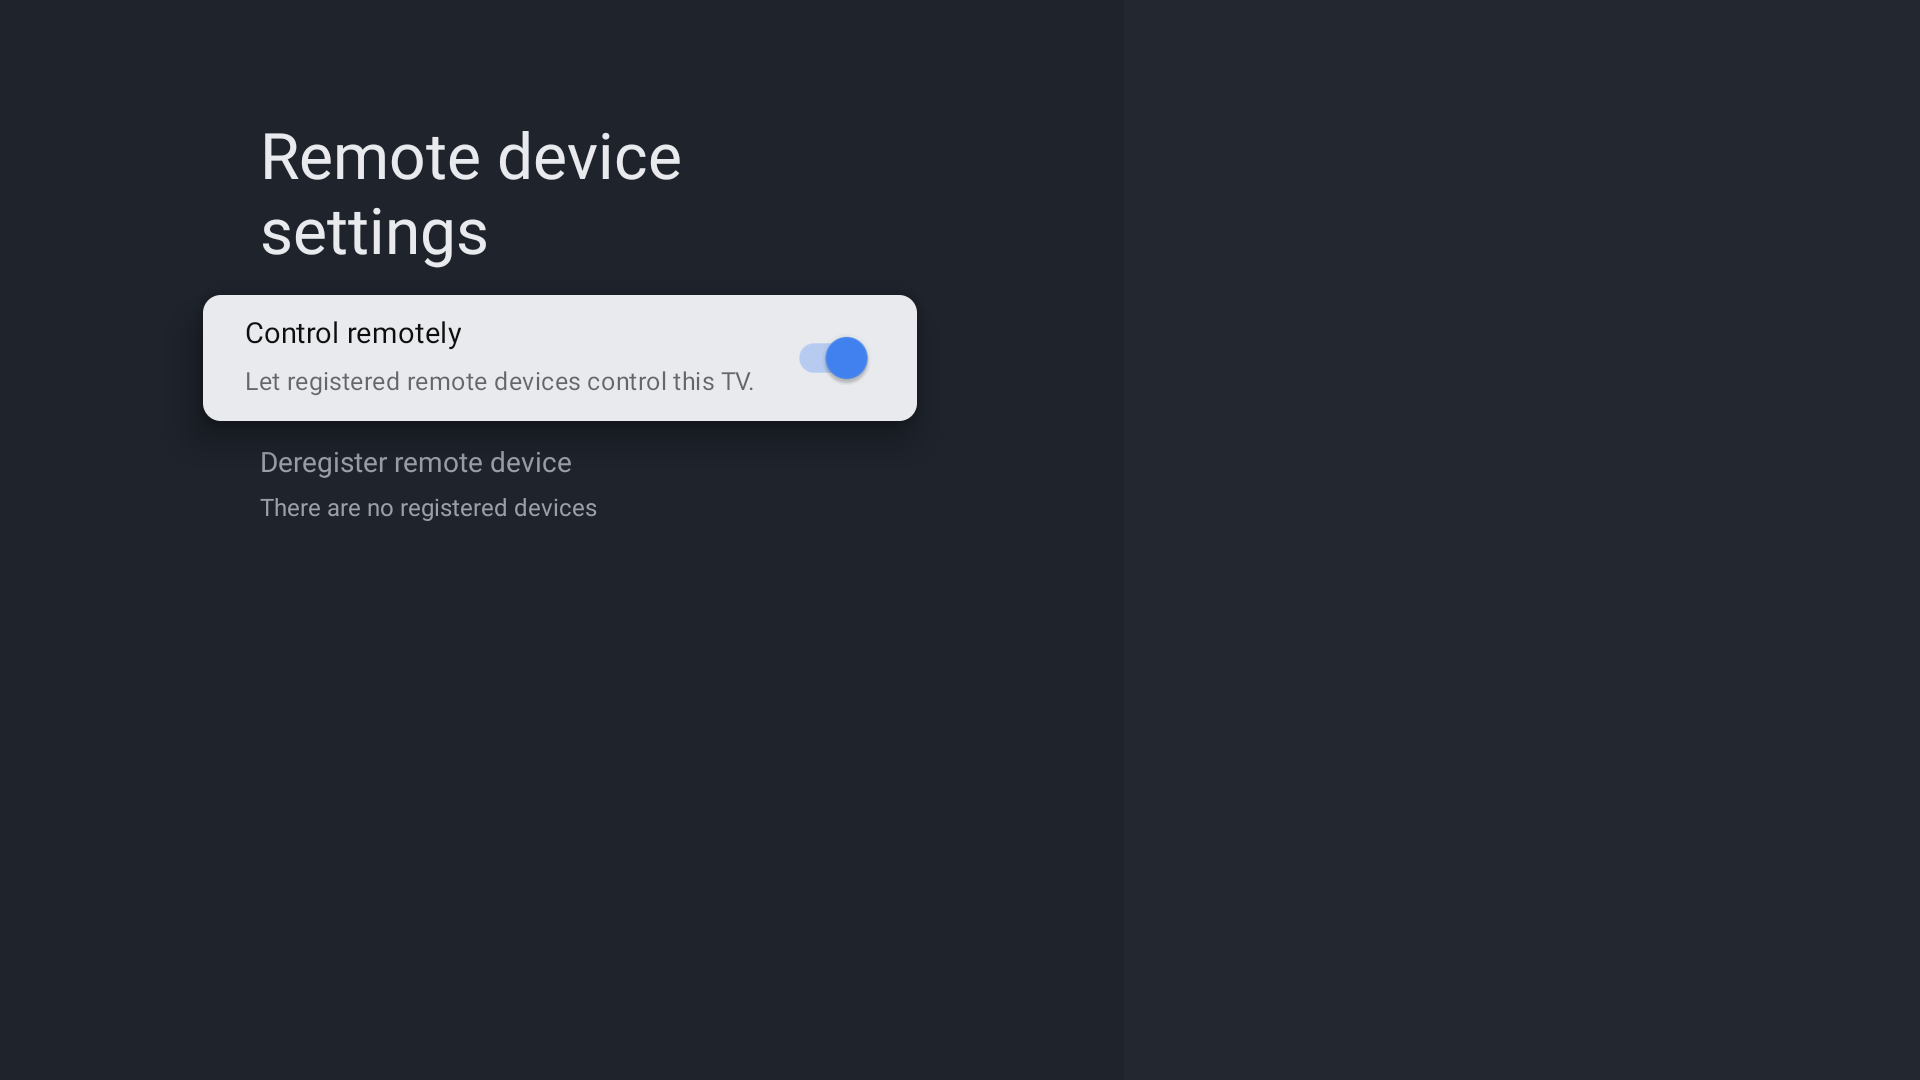
Enable remote device control
- [HOME] Settings
- Network and Internet
- Remote device settings
- Control remotely
- Enable

Settings on client side:
The Pre-Shared Key string which you input into BRAVIA Professional Display has to be added to the HTTP Request header of REST API and IRCC-IP by using the X-Auth-PSK custom header.
X-Auth-PSK: [Pre-Shared Key]
See the details for HTTP request and response:
How to control the display remotely via REST API
If you do not want to suspend the display
USB charging
- [Home] Settings
- Pro Settings
- USB charging while power is off
- Enabled
[Default: Disabled]
After the above settings have been made to prevent the display from going into the suspended state
After setting the above to prevent the device from suspending, call setPowerStatus REST API to control the power supply.
Power consumption will increase because the device will not be in the suspended state.
SSIP
- [Home] Settings
- Network and Internet
- Home Network
- IP Control
- Simple IP Control
Enabled [Default: Disabled]
After the above settings have been made to prevent the device from going into the suspended state
After setting the above to prevent the device from suspending, call setPowerStatus REST API to control the power supply.
Power consumption will increase because the display will not be put into the suspended state.
Note:
You can also prevent the display from suspending with the settings below.
https://pro-bravia.sony.net/guides/references/prosettings/android_latest/2_settings/2-3_wake_up_on_signal/index.html
- [HOME] Settings
- Pro settings
- Wake-up on signal
https://pro-bravia.sony.net/develop/integrate/rs-232c/command-definitions/mode-control/#standby
- the status of the "Standby" is enabled
*Both, like USB charging/SSIP, increase power consumption because they do not enter a suspended state.
When the display is in the suspended state
Wake-on-LAN
The display supports Wake-on-LAN (WoL). When the display is in a suspended state, the HTTP server is not running, so neither REST API nor IRCC-IP commands can be received. In order to receive commands, the power must first be turned on using Wake-on-LAN.
Send several WoL magic packets until REST API / IRCC-IP is enabled.
In “Normal Mode,” the display will not automatically switch to the “Screen On” state with Wake-on-LAN, so the setPowerStatus REST API must be called to turn the display on after the REST API is enabled.
In Pro Mode, the display will automatically switch to the “screen on” state with Wake-on-LAN, but it is necessary to send several WoL magic packets before the REST API is enabled.
To dynamically prepare Wake-on-LAN magic packets, call the getSystemInformation REST API to obtain the MAC address.
The Wale-on-LAN feature is disabled by default. To enable it, set “Remote Start” as follows.
- [Home] Settings
- Network and Internet
- Remote Start (various devices and apps)
Enabled [default value: Disabled].
or REST API: setWolMode
For more information about the power status of the display, please refer to
https://pro-bravia.sony.net/faq/62/


