12. Video Conference
Estimated reading time: 6 minutes
BRAVIA Meeting supports video conferences between two BRAVIAs with a USB camera or a USB microphone. You can select either video and audio mode or audio only mode when you start a video conference.
A summary of how to a start video conference is below.
- Create an access code on the BRAVIA Meeting server for joining the video conference. Tell the access code to the attendees of the video conference.
- Launch the video conference on the meeting room BRAVIA and enter the access code. You can launch the video conference using the menu of the meeting room BRAVIA or the menu of the client.
Schedule Video Conference
-
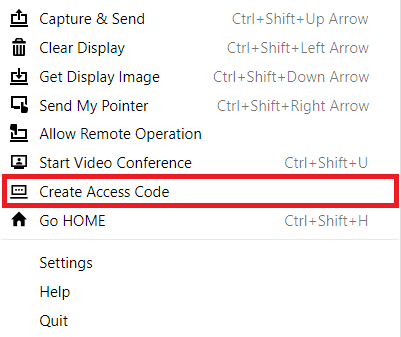
Open BRAVIA Meeting Access Code Page on your web browser to create an access code. Ask your administrator for the URL of the web page. If you have installed BRAVIA Meeting Client, you can open the web page by clicking [Schedule Video Conference] on the client menu.
-
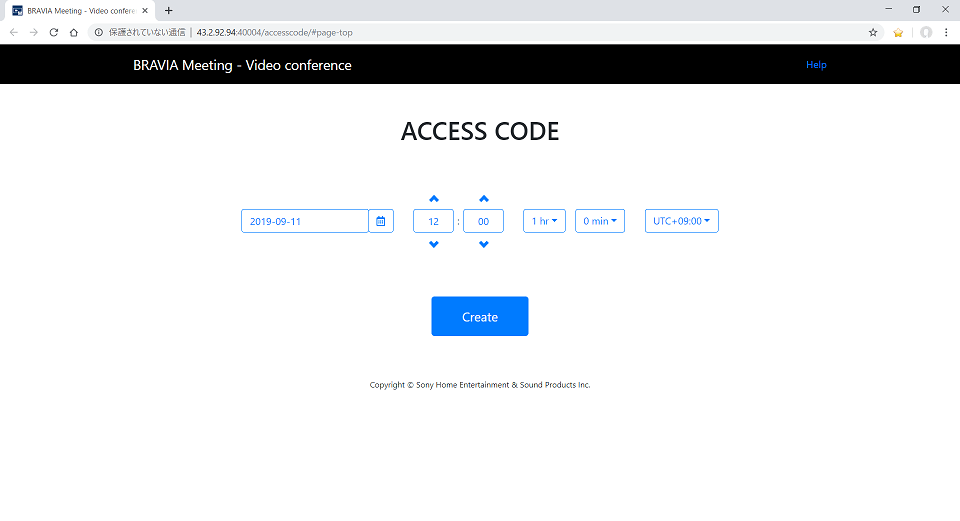
On the web page, enter the date, time, and duration of the video conference and click the “Create” button. You can start the video conference before the start time or after the end time of the video conference, but the access code will be deleted automatically 24 hours after the end time.
-
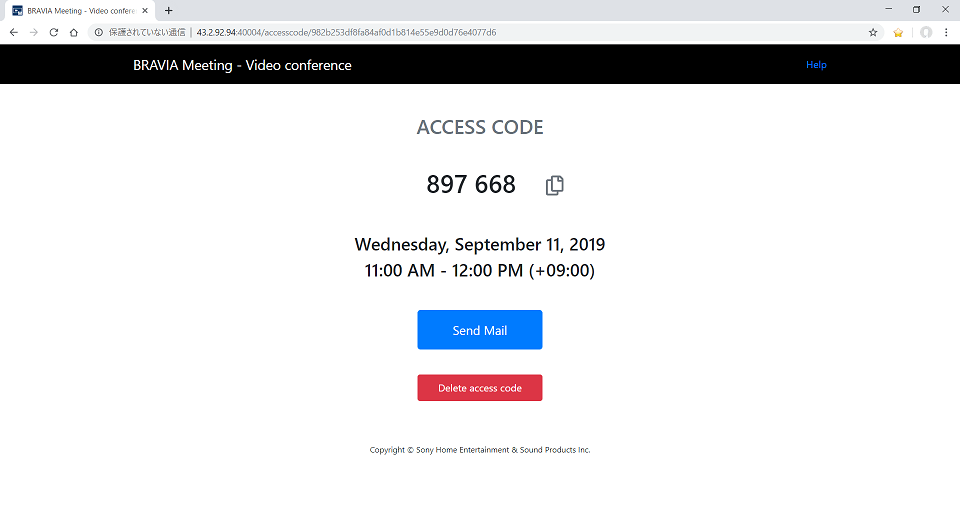
Check the access code displayed on the web page. You can send an email which contatins the video conference information and the access code by clicking “Send Mail” button.
Start Video Conference
Launch using the BRAVIA menu
-
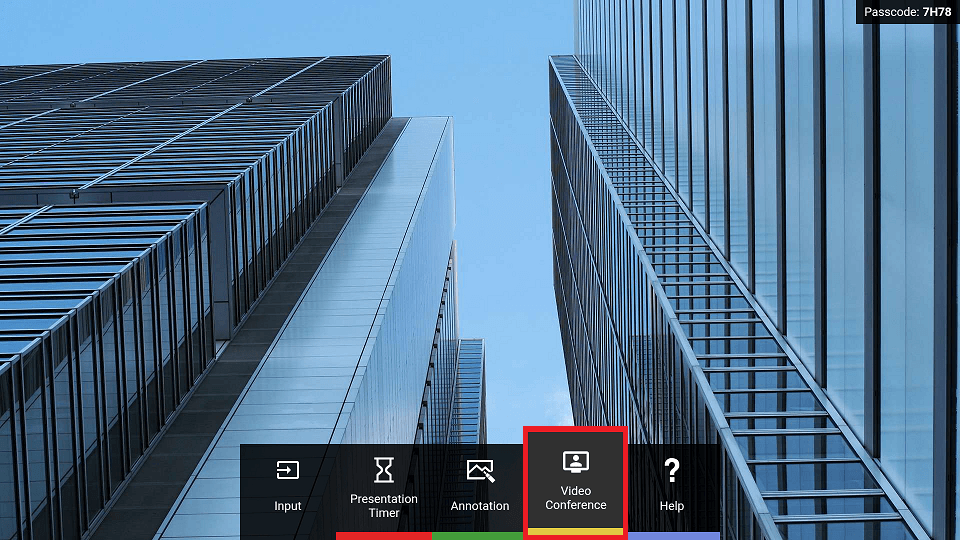
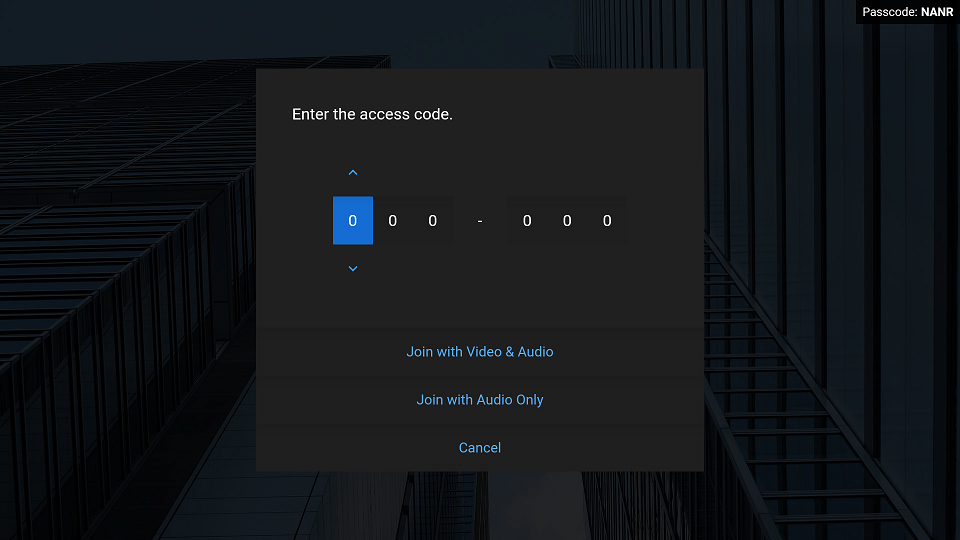
Select [Video Conference] on the menu of the meeting room BRAVIA or press the [Yellow] key by remote control, and the dialog to enter the access code will be shown.
-
Enter the access code for the video conference you want to join.
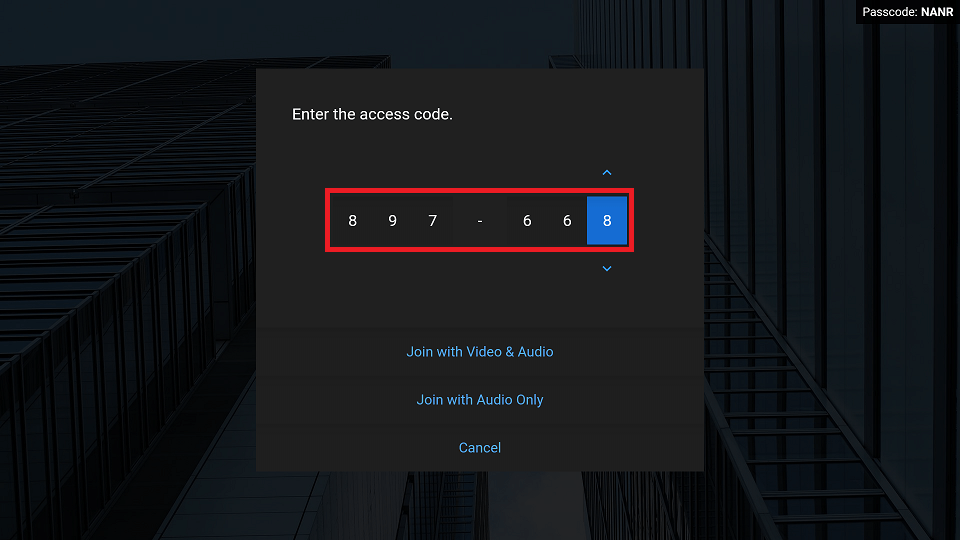
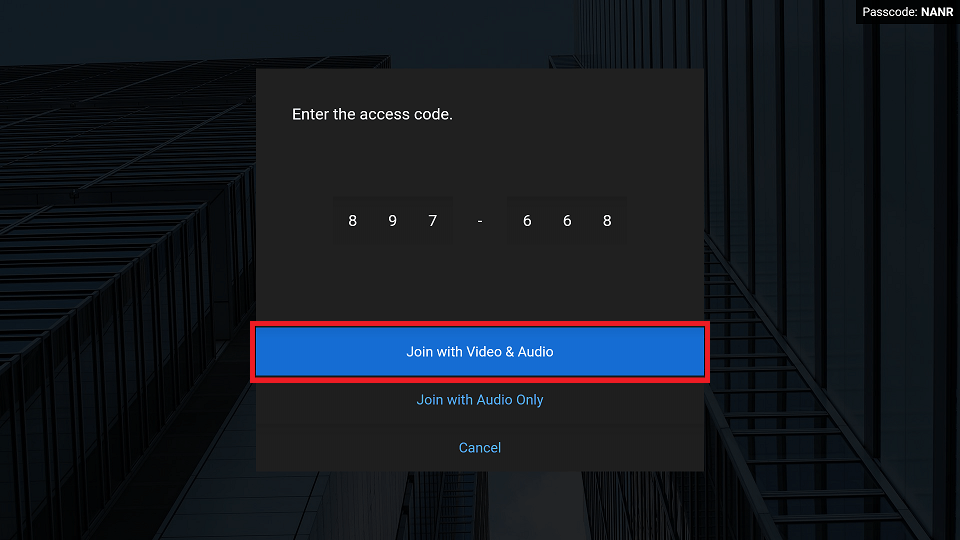
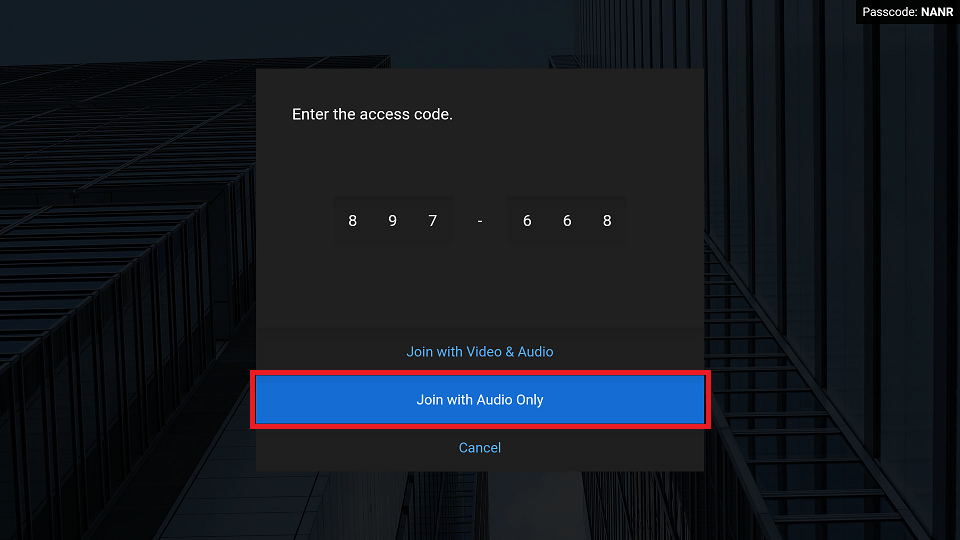
- Select [Join with Video & Audio] or [Join with Audio Only] to start the video conference.
- Video & Audio: Your video and audio feed is available to the other member of the video conference. You can select this option only when a USB camera is connected to the meeting room BRAVIA. The other member of the video conference can choose whether or not to make their video feed available to you.
- Audio Only: Only your audio feed is available to the other member of the video conference. You can select this option when a USB camera or a USB microphone is connected.
-
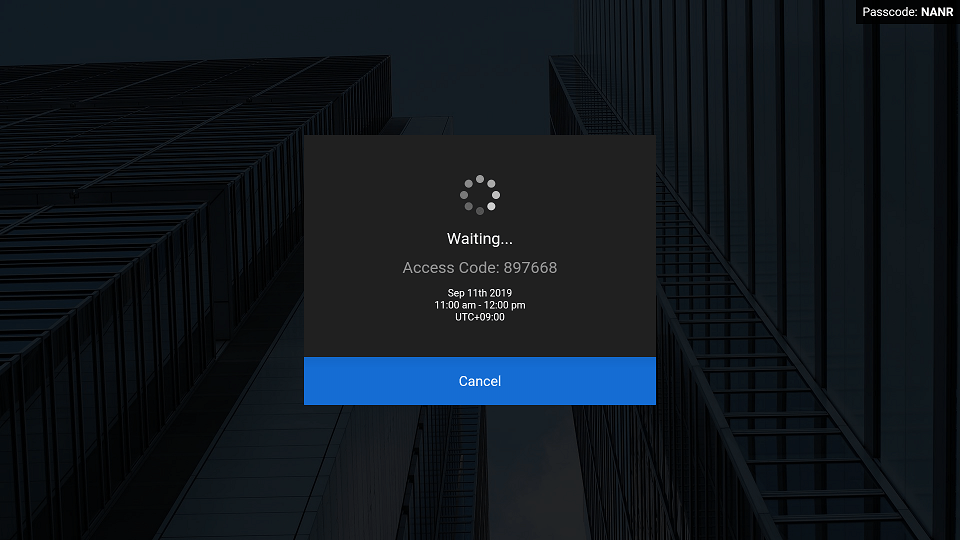
When you are waiting for the other member of the video conference to join, the “Waiting” dialog will be shown.
-
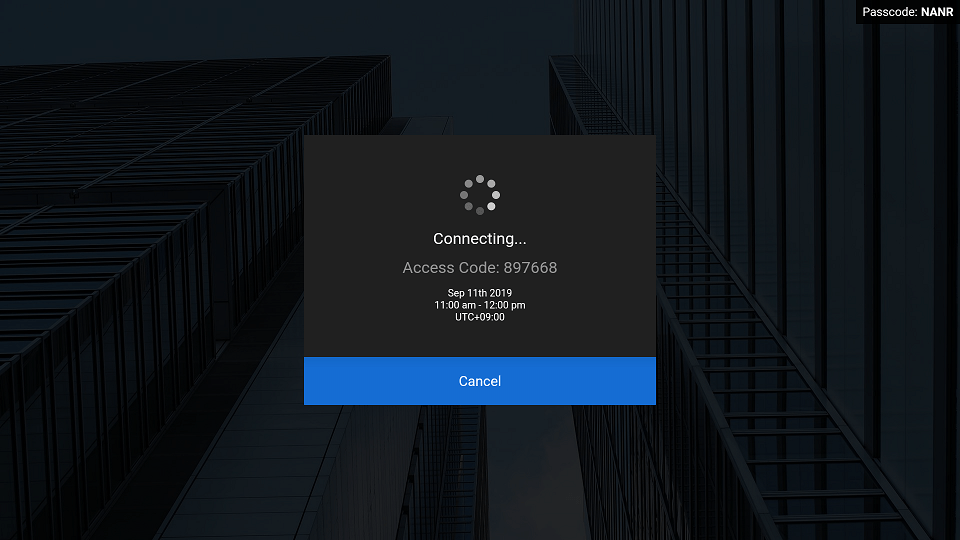
When the BRAVIAs on both sides are connecting to the video conference, the “Connecting” dialog will be shown.
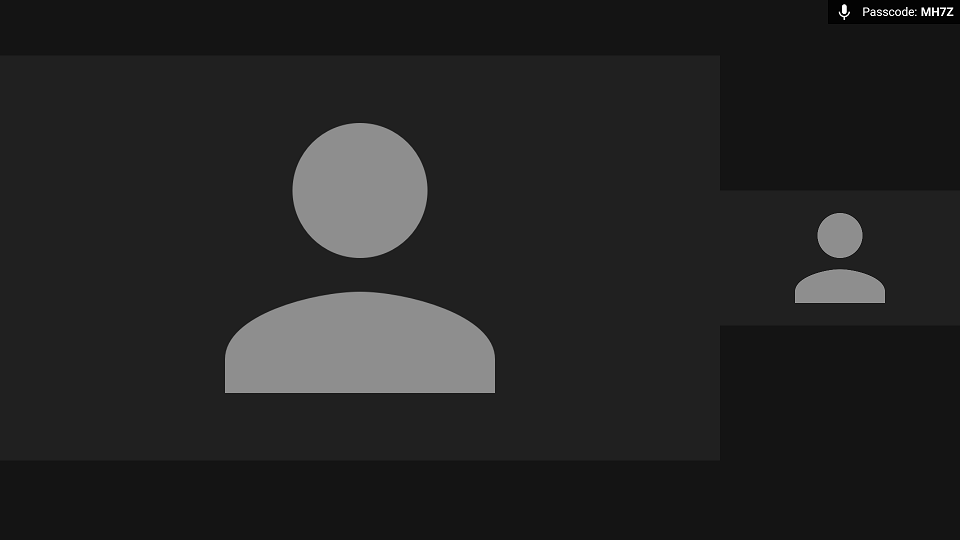
- When the connection is established, the video conference screen will be shown.
Launch using the client menu
-
Check the passcode displayed in the top right corner of the meeting room BRAVIA screen on which you want to launch the video conference.

-
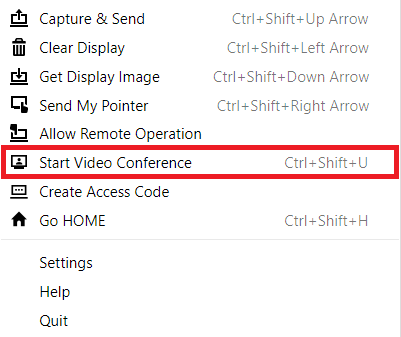
Click [Start Video Conference] on the BRAVIA Meeting Client menu on your computer. You can also access this function by simultaneously pressing the shortcut keys on your keyboard (Windows: [Ctrl] key + [Shift] key + [u] key; Mac: [Cmd] key + [Shift] key + [u] key).
-
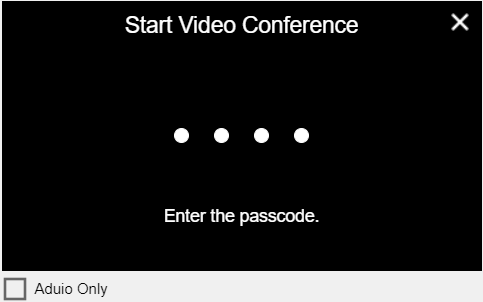
The dialog for entering the passcode will appear in the center of the screen. You can cancel passcode entry and close the dialog by pressing the X icon in the upper right corner of the dialog box, or by pressing the [Esc] key on your keyboard.
-
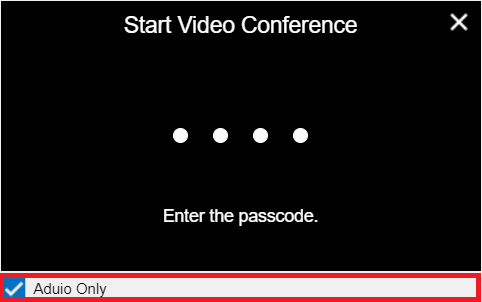
To join with audio only mode, enter a checkmark into the [Audio Only] box (the checkmark can be entered and cleared by pressing the space bar on your keyboard). When only a USB microphone is connected to the meeting room BRAVIA, audio only mode will be automatically selected even if the box is not checkmarked.
-
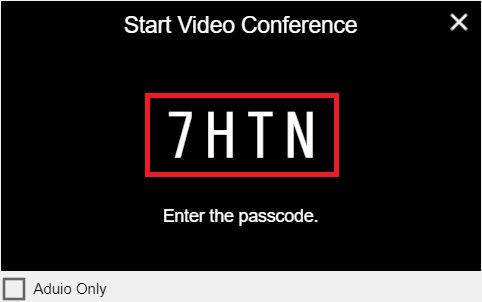
Enter the passcode shown on the BRAVIA into the dialog, then click the dialog or press the [Enter] key on your keyboard.
-
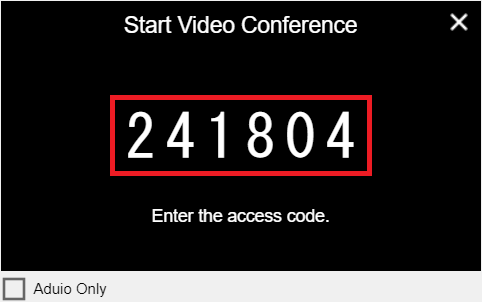
Enter the access code for the video conference you want to join into the dialog, then click the dialog or press the [Enter] key on your keyboard.
-
If the passcode you entered is correct, the dialog for the video conference will launch on the meeting room BRAVIA. When you are waiting for the other member of the video conference to join, the “Waiting” dialog will be shown.

-
When the BRAVIAs on both sides are connecting to the video conference, the “Connecting” dialog will be shown.

-
When the connection is established, the video conference screen will be shown.

Usage
When the connection of the video conference is established, the video conference screen will be shown.

When yor are connected in audio only mode, the video from your side will be shown on your BRAVIA as below. When the other member of the video conference is connected in audio only mode, their video feed will be shown on your BRAVIA as below.
![]()
You can show the menu by pressing the [↑], [↓], [←], [→], or [Enter] keys by remote control, or by touch panel operation if available.
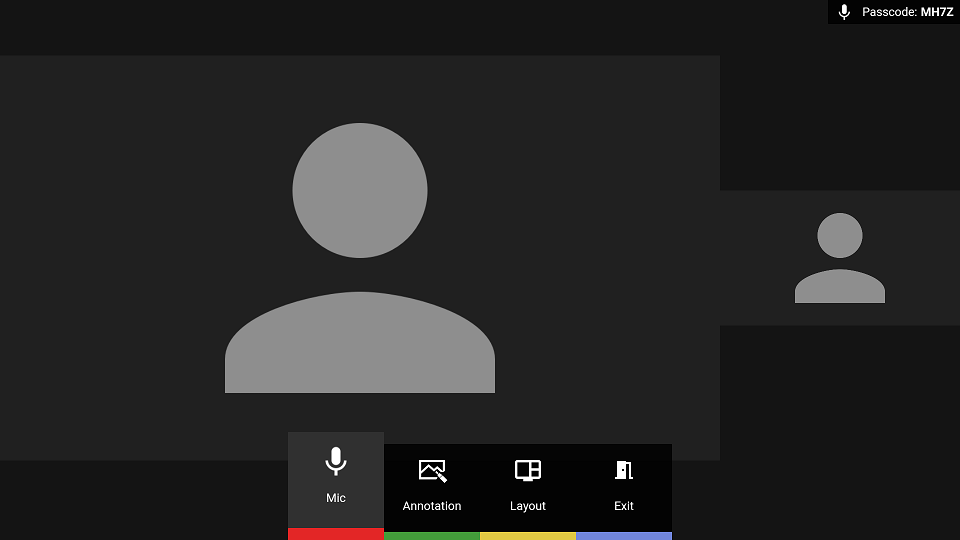
You can perform the following operations during a video conference. Eternal input by HDMI connection cannot be shown during the video conference.
- Mic ON/OFF [Red key]
- You can mute the microphone input on your side.
- Layout Change [Yellow key]
- You can change the video layout.
- Annotation Mode [Green key]
- You can start the annotation mode and share your drawings with the other member of the video conference. Only the audio of the video conference is played during annotation mode.
- Video Mirroring
- You can display your computer screen on the meeting room BRAVIA and share it with the other member of the video conference. Only the audio of the video conference is played during video sharing.
- Remote Pointer
- You can display the pointers on the meeting room BRAVIA from your computer and share them with the other member of the video conference.


