4. Start Mirroring
Estimated reading time: 1 minute
Follow the steps below to display the screen of your computer on the meeting room BRAVIA through screen mirroring.
Start Mirroring
-
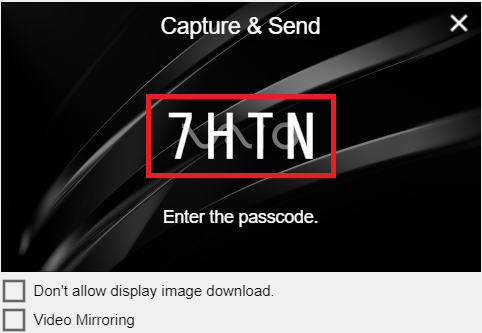
Check the passcode displayed in the top right corner of the meeting room BRAVIA screen on which you want to display your computer screen.

-
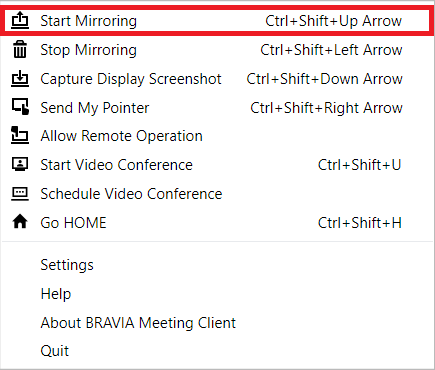
Click [Start Mirroring] on the BRAVIA Meeting Client menu on your computer. You can also access this function by simultaneously pressing the shortcut keys on your keyboard (Windows: [Ctrl] key + [Shift] key + [↑] key; Mac: [Cmd] key + [Shift] key + [↑] key).

-
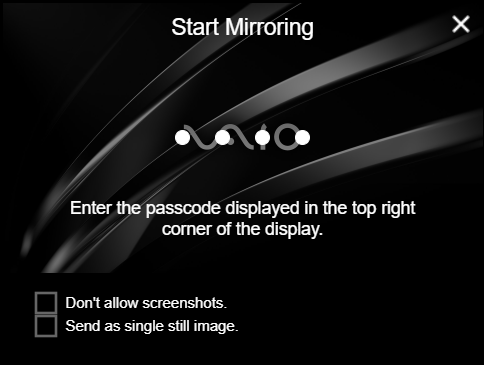
Following an effect showing the entire screen being captured, the dialog for entering the passcode will appear in the center of the screen. You can cancel passcode entry and close the dialog by pressing the X icon in the upper right corner of the dialog box, or by pressing the [Esc] key on your keyboard.

-
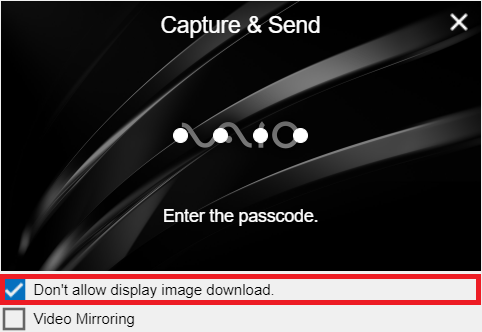
To prohibit other computers from saving screenshots, enter a checkmark into the [Don’t allow screenshots.] box (the checkmark can be entered and cleared by pressing the space bar on your keyboard).

-
Enter the passcode shown on the BRAVIA into the dialog, then click the dialog or press the [Enter] key on your keyboard.

-
If the passcode you entered is correct, an effect showing a thumbnail being sent from the center of the screen to the top is displayed, and the screen of your computer is displayed onto the BRAVIA. While the video mirroring is active, the BRAVIA Meeting Client icon in the notification area (Windows) or status menu (Mac) will be green as shown below.

Stop Mirroring
Mirroring will stop in the following situations.
- When [Stop Mirroring] for the target BRAVIA is performed.
- When another [Start Mirroring] for the target BRAVIA is performed.
- When the target BRAVIA returns to the HOME screen or changes to external input.
- When the target BRAVIA powers off.


