

How to Use Cloud API
To use the Cloud API, you must obtain a Service Provider ID and an API Key.
This section explains how to obtain them.
Obtaining Service Provider ID and API Key
1. Information submission
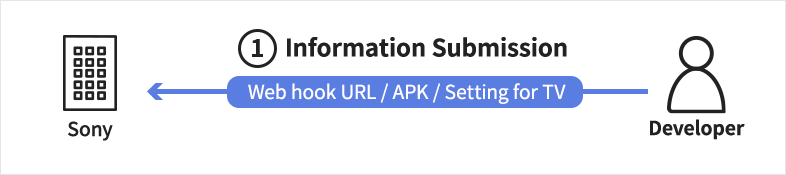
Before you can start using the Cloud API, certain information must be pre-registered on Sony’s server. Please submit the following details to your Sony representative using secure methods, such as password-protected emails or closed-space chat platforms:
- APKs to be installed on the monitor
You can install up to three APKs. - Display configuration settings list
Click here for the setting specifications. - Webhook URL
It must be an HTTPS URL with an official server certificate. Once provisioning is complete, the Token is sent to the specified Webhook URL.
Tips
If you choose not to use the Provisioning API but instead use Sony’s proprietary applications, such as the Device Provisioning Tool or Remote Device Manager, APKs and Display settings lists are not required. The availability of these applications varies by region, so please confirm at the time of application.
2. Receiving credentials

Once Sony receives and validates the information you provided, it will be registered on the dedicated server. Your Sony representative will then provide you with the following Cloud API access credentials:
- Service Provider ID
An ID assigned when using the Cloud API. - API Key
A Key required to access the Cloud API. - API Base URL
The base URL of the endpoint.
Implementation Steps
Prepare the display and follow the steps below.

Provisioning steps
1. Preparing Registration Information
Gather the following information required for the registration process:
Display MAC Address
This information is located on the carton (packaging box) label.
Creating User Data
Optional supplementary information to identify the display, such as the tenant name at the installation location.
Cloud API Access Credentials
Credentials provided by your Sony representative after dedicated server registration.
2. Obtaining Device ID
Include the Service Provider ID and API Key in the HTTP header and send a request to the API endpoint to connect to the dedicated server. When you request the MAC address and User data to the “Register a device” API, a Device ID is generated.
curl -i ^
  https://[Cloud API endpoint]/kitting/v1/devices^
  -H 'Content-Type: application/json’^
  -H 'X-API-Key:~’^
-d '{"mac":"AA-BB-CC-DD-EE-FF", "userData":“~" }’^3. Connect the display to the LAN and Power ON
Connect using wired LAN and turn on the display.
Note
If the display has already been used, execute [Factory data reset] in the settings menu.
Procedure: [Settings]→[System]→[About]→[Reset]→[Factory data reset]
The display will restart automatically.
4. Dedicated Server Authentication with One Time Code
When the dislpay starts, a One-Time Code (6-digit code and 2D barcode) is displayed after a few seconds.
The One-Time Code is valid for approximately 30 minutes.
Send the 6-digit code to the dedicated server using the “Input an one time code” API.
5. Automatically Starting the Display Setup
Once the dedicated server authenticates the One-Time Code, the dislpay setup automatically begins based on the previously provided information. This process may take tens of minutes.
6. Setup Completion Notification to Webhook URL
Once setup is complete, a Token will be posted to the Webhook URL you provided previously. The Token is valid for approximately one hour.
7. Verifying Setup Completion
Send the Token using “Get Device events” to confirm the Device ID and User data of the display that has completed setup.
Control & Monitoring steps
Tips
If you choose not to use the Provisioning API but instead use Sony’s proprietary applications, such as the Device Provisioning Tool or Remote Device Manager, complete the following steps before implementing the Control & Monitoring API.
Setup Completion Notification and Confirmation
After the monitor automatically completes setup, a Token will be posted to the Webhook URL you provided to Sony. Send the Token using “Get Device events” to confirm the Device ID and User data of the display that has completed setup.
1. Setup Completion Notification to Webhook URL
※Skip this step if using Provisioning API to avoid duplication.
Once setup is complete, a Token will be posted to the Webhook URL you provided previously. The Token is valid for approximately one hour.
2. Confirming Device ID and User Data
※Skip this step if using Provisioning API to avoid duplication.
Send the Token using “Get Device events” to confirm the Device ID and User data of the display that has completed setup.
3. Creating Access Key
Use “Create Access Key” to generate an Access Key for group management of monitors.
4. Associating Access Key
Use “Associate the device with the access key” to associate each Device ID with an Access Key.
5. Executing Control & Monitoring
Specify the device using its Device ID and Access Key, then execute any supported Cloud API to monitor and control the device.
Control & Monitoring API – Usage tips and precautions
Rotating the Application Display Orientation Using “set screen rotate”
Use set screen rotate in the Control & Monitoring API to rotate the application display orientation.
Execute “set screen rotate”
Note:
- Rotation of SurfaceView is not supported. Use TextureView for video playback instead.
- Note that the following models do not support screen rotation using “set screen rotate”:
- BZ40J (100-inch)
- BZ53L/50L/30L (98-inch)
Images Captured with “take a screenshot” and Image Capture Considerations
1. Images Available for Capture
Images that can be captured using take a screenshot depend on the playback application and input source.
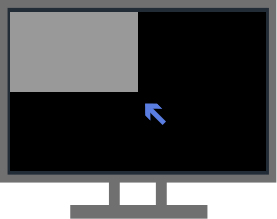
Usage on BZ40J (100-inch) / BZ53L / BZ50L / BZ30L (98-inch)
If Picture Quality Mode is set to anything other than [Game] or [Graphics], video content less than 4K resolution or decimated video (downsampled video) will be captured in the upper left quarter of the captured image.
Images Available for Capture Using “take a screenshot”
Screen State: [Home] Screen Display
Actual Screen

Screenshot Captured Image
*Resolution 1920×1080

Same as actual screen
screenshot?plane=video
Captured Image (Video Plane)
[Not Supported]
Screen State: Settings Screen Display
Actual Screen
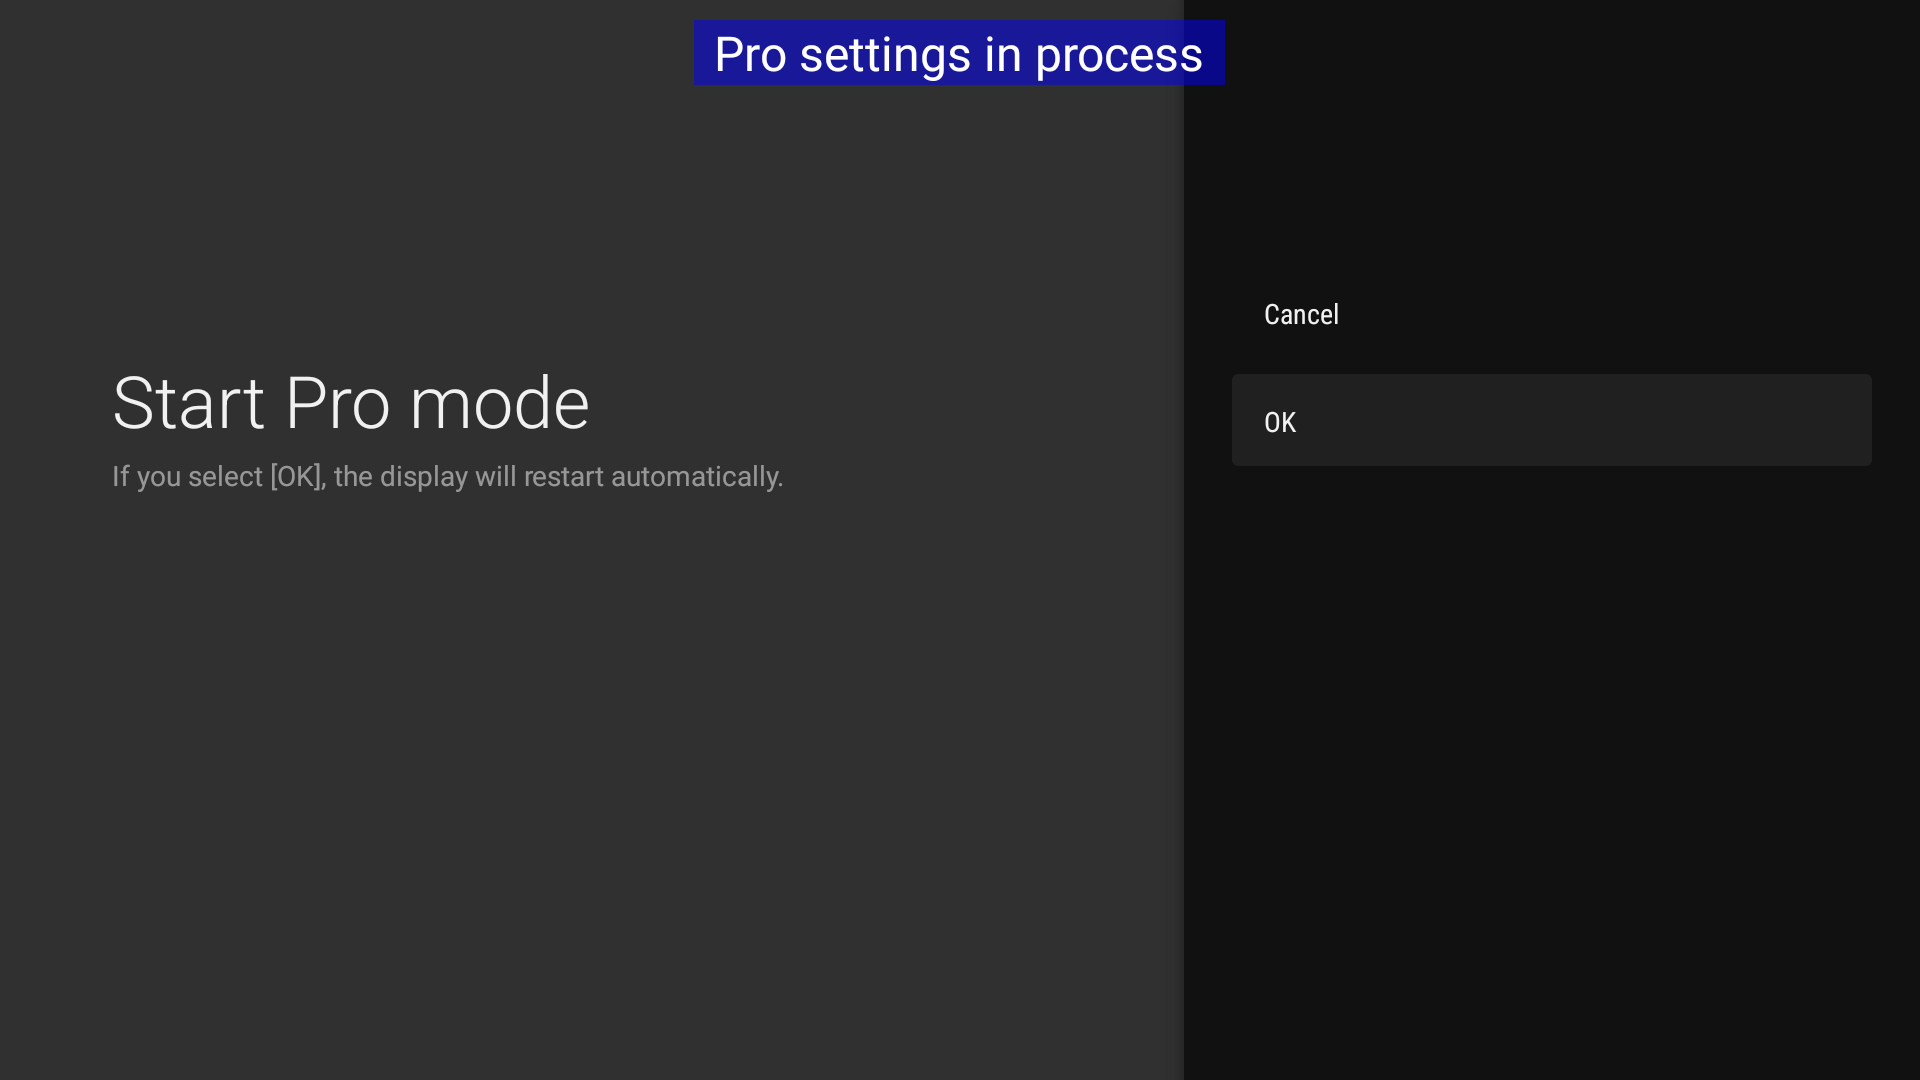
Screenshot Captured Image
*Resolution 1920×1080
Same as actual screen
screenshot?plane=video
Captured Image (Video Plane)
[Not Supported]
Screen State: Playback Application – Without Tunnel Mode
Actual Screen
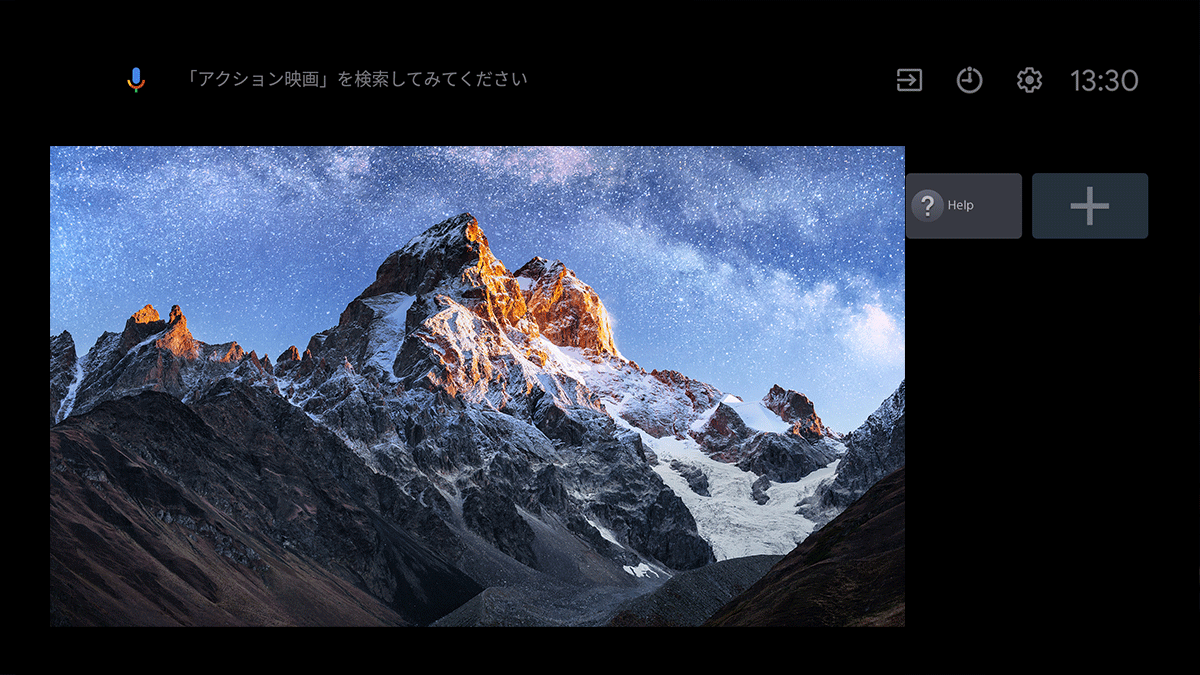
Screenshot Captured Image
*Resolution 1920×1080
Same as actual screen
screenshot?plane=video
Captured Image (Video Plane)
[Not Supported]
Screen State: Playback Application – With Tunnel Mode
Actual Screen
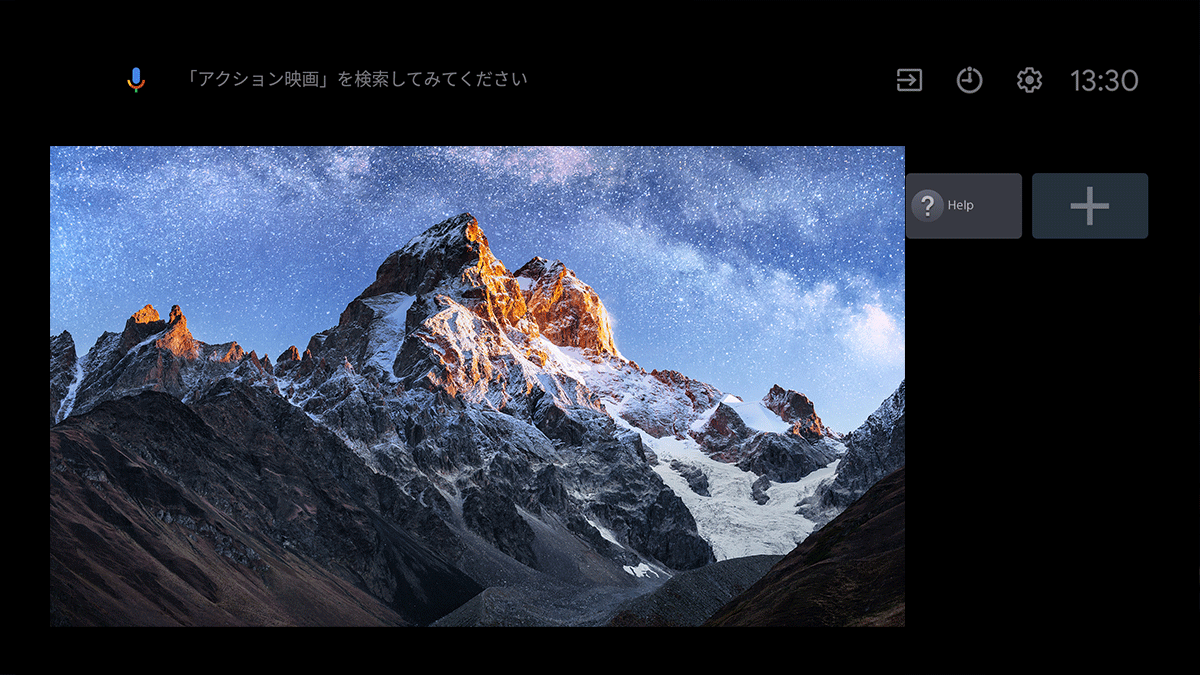
Screenshot Captured Image
*Resolution 320×180
BZ40J (100-inch) / BZ53L / BZ50L / BZ30L (98-inch)

UI capture not available
Others
Same as actual screen
screenshot?plane=video
Captured Image (Video Plane)
BZ40J (100-inch) / BZ53L / BZ50L / BZ30L (98-inch)

UI capture not available
Others
Same as actual screen
Screen State: HDMI Input Source *Supported with main unit firmware PKG 6.7612 or later
Actual Screen
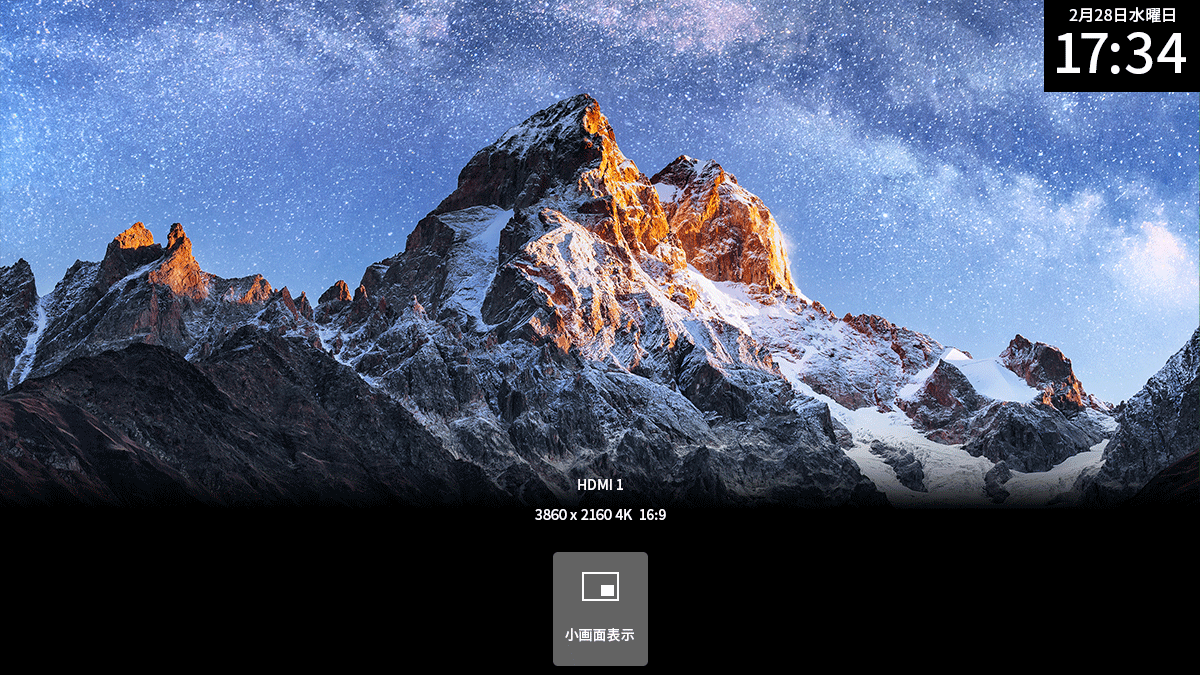
Screenshot Captured Image
*Resolution 320×180
BZ40J (100-inch) / BZ53L / BZ50L / BZ30L (98-inch)

UI cannot be captured
Others

Same as actual screen
screenshot?plane=video
Captured Image (Video Plane)
BZ40J (100-inch) / BZ53L / BZ50L / BZ30L (98-inch)

UI cannot be captured
Others

Same as actual screen
2. Preventing Playback Pauses During Screenshot capture
“take a screenshot” calls the Android callback functions onPause() and onResume(). Therefore, if the playback application pauses the video in onPause(), playback will stop for approximately 0.1 to 0.5 seconds during screenshot capture.
For this reason, we recommend implementing video pause processing in onStop() instead of onPause(). This allows screenshots to be taken without interrupting playback during screenshot capture.
Example for Java
@Override
    protected void onStop() {
        super.onStop();
        if (videoView.isPlaying()) {
videoView.pause();Display Behavior and Call Frequency When Using Control & Monitoring API
When using the following Control & Monitoring API functions with the display screen on, a “Please Wait” dialog may appear on the screen and the display may become unresponsive for several seconds to tens of seconds.
Target Control & Monitoring APIs
/devices/{deviceId}/apk-install/requests
/devices/{deviceId}/apk-uninstall/requests
/devices/{deviceId}/pro-mode/requests
/devices/{deviceId}/reboot/requests
/devices/{deviceId}/settings-export/requests
/devices/{deviceId}/settings-import/requests
/{deviceId}/system-software-update/requests
This occurs because the display performs internal processing during API operations, temporarily restricting user interaction. Normal operation resumes once processing is complete. We recommend limiting Cloud API calls to no more than 50 per second. Excessive calls may cause errors due to server overload. If an error occurs, wait briefly before retrying the request.