BRAVIA Signage Free

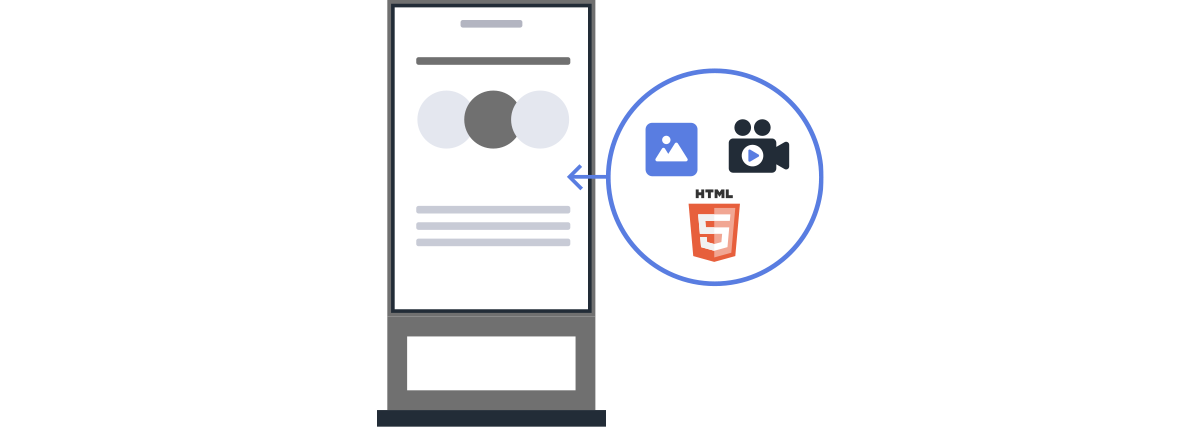
BRAVIA Signage Free is built-in software that comes standard with the monitor. It enables standalone signage operation without requiring any external equipment. You can create flexible playlists by specifying playback order through folder structures and file naming conventions.
Features
Network-Independent
Standalone operation ensures stable display without interference or bandwidth limitations*.
*Network connection is recommended for scheduled playback.
Independent by Location
By creating and scheduling playlists for each monitor, you can operate them independently at their respective locations or sites. It is suitable for cases where central management is not required and for distributed deployments in facility areas where network connectivity is limited.
No External Equipment
The system operates entirely on the monitor itself. You can manage content without additional external devices, contributing to simplified system architecture and reduced deployment costs.
Operating Method
There are two options depending on where content is stored.
Built-in Storage-based
It’s a simple method where content is stored on the monitor’s built-in storage and played back using the monitor’s BRAVIA Signage Free. USB flash drives are used to transfer content.
USB Flash Drive-based Utilization

This method executes content to be played, custom applications, and BRAVIA Signage Free via USB flash drive. One dedicated USB flash drive is required for each monitor.
Playback Method
Content is primarily played in slideshow format. There are three playback methods that allow you to control the number of content items, playback methods, and playback duration.
Slideshow Playback

Plays multiple pieces of content in a slide show format. It is basically in alphabetical order by file name, but you can specify the playback order by adding numbers. You can also switch between automatic and manual playback.
Playlist Playback

Create playlist folders containing multiple pieces of content and play them in slideshow format. Playlists can be selected or switched even during playback. You can also add on-screen text to playlists and incorporate prepared background music (BGM).
Scheduled Playback

Specify the day of the week, date, and time period for playing created playlists. Settings can be configured using the remote control. Network connection is recommended.
Preparation
What You Need
- Monitor and remote control
- PC: Supported OS: Windows 11 (64-bit), macOS *macOS has been used successfully but is not officially supported.
- USB flash drive: Format: NTFS, FAT32, or exFAT
- Contents: Prepare content suitable for your monitor installation.
BZ40P / BZ35P / BZ30P
Required Monitor Settings
BRAVIA Signage Free settings only. No additional display settings.
When using HTML5 application
Additional settings and specification checks are required. Please refer to the HTML5 page.
BZ Series: L / J / H
Required Monitor Settings
Enable [Install web app] Android TV OS 10 PKG6.7480 or earlier
When saving content to the built-in storage, [Install web app] must be enabled.
Procedure: [Pro settings] → [USB drive auto run] → [Install web app]
Enable [Install web app] Android TV OS 10 PKG6.7480 or earlier
Enable [Launch web app]. This setting is required whether operating via built-in storage or USB drive.
Procedure: [Pro settings] → [USB drive auto run] → [Launch web app]
When Using Custom Apps
It is necessary to check the settings and specifications separately. Please check the following.
Google Play apps: here , HTML5 application: here
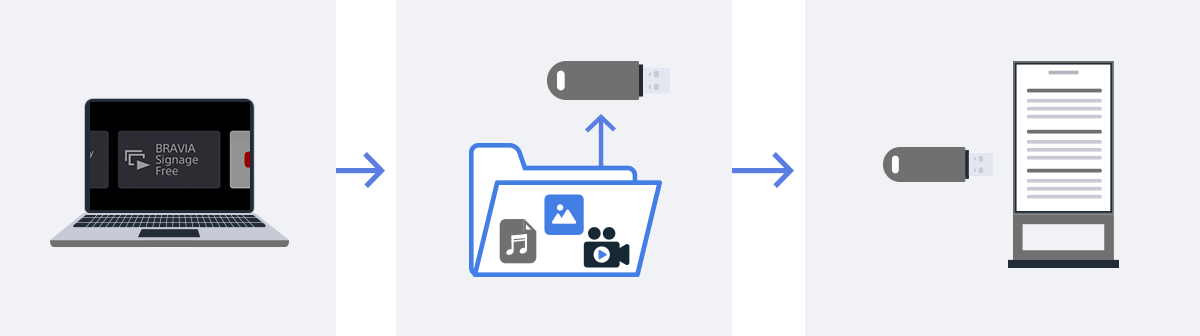
Three-step Operation Flow
Setup and content updates basically follow the same steps.
*The GUI is subject to change without prior notice.
※Menu items and procedures may vary depending on the monitor’s firmware version.
Setup Method
For Android TV OS 12 or earlier, BZ series, see here.
1. Creating Content Transfer Files
There is a folder called media in the sample folder. Save your content files there. Use the sample content for testing and discard it when you no longer need it.
Copy the sample folder containing the content files to the root directory of the USB flash drive. This completes the file creation.
Tips
You can specify the playback order by file name.
See details
2. Inserting the USB Flash Drive into the Monitor
Insert a USB flash drive into the monitor.
Note:
Connect to a network if you want to use apps that access external information sources, such as weather or news, feeds, and dynamically retrieve data.
3. Setting Up Operation and Playback Methods
On the remote control, select the BRAVIA Signage Free icon from [Home] and press [OK] to open the settings screen.

①[Landscape/Portrait] Set according to the display installation orientation.
②[Storage] Select the content playback method.
③[USB Checker] This feature is only active when USB is selected as the content playback method. It restricts playback in Pro mode to only the specified USB drive. Playback begins after the PIN is verified between the USB drive and the display.
Procedure
- Open [Usb checker]. txt in the sony folder and replace “0000” with a 4-digit PIN of your choice. Note that “0000” disables this feature.
- Set [Storage] to [USB].
- Set [USB Checker] to [Enable]. A PIN entry dialog will appear. Enter the PIN you specified in usbchecker.txt.
- Configure any other required settings, then press [Start Playback].
④[USB Folder] Confirm that media is selected.
⑤[Import/Export] To play content from built-in storage, select [Bulk Import] to save all content to the display at once. You can also [Export] to a USB drive.
⑥[Playback Mode] Select a playback style for each playlist (Slideshow / Playlist / Schedule).
⑦ [Presentation Mode] Set slideshow playback to Auto or Manual. When enabled, slides can be advanced manually.
⑧[Transition Effect] Set the fade-out → fade-in duration between content items.
⑨[Playback Duration (sec)] Set the playback duration for all content. The duration per item varies depending on the setting.
⑩[Text] Enter text if a text is required.

⑪[Auto Start] When enabled, BRAVIA Signage Free launches automatically and begins playing content whenever the monitor powers on in Pro mode.
⑫[User Guide] Links to BRAVIA Signage Free on the BRAVIA Knowledge Center.
Schedule Playback and Playlist Setup
Use Schedule Playback as Necessary
Operation Steps
- In the [Basic settings] screen, set [Playback mode] to [Schedule playback].
- Press the [Green] button on the remote control to go to the [Schedule settings] screen.

Schedule Settings
- Use the color buttons on the remote control to set the schedule.
- Schedules are prioritized in the following order:
Specify date → Specify day of week → Execute every day

Note:
The monitor’s date and time must be set correctly for schedule playback. Note that if you turn off the main power of the monitor without connecting to a network, the date and time will be initialized and the scheduled playback may not happen at the correct time.
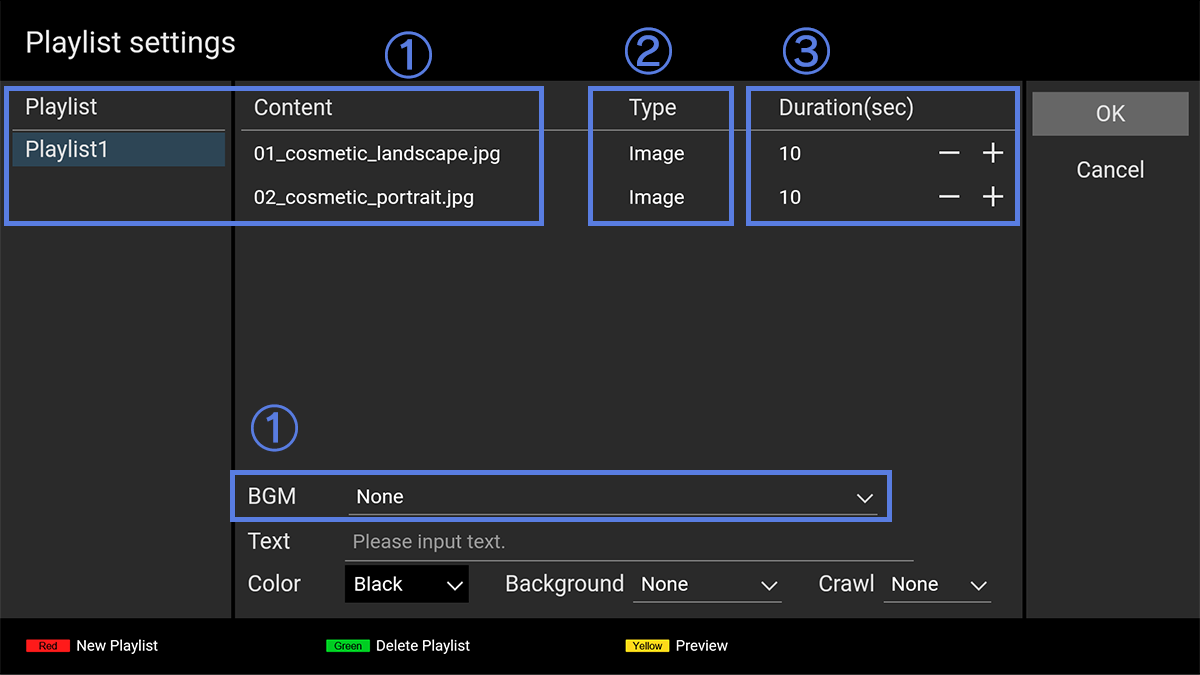
Check the Playlist
(1) [Playlist name / Content name / BGM] The contents of the file you created will be reflected.
(2) [Type] The content type is automatically reflected from the file extension. However, the distinction between “still image” and “still image (4K)” is not supported. To play back 4K resolution still images correctly, manually change [Type] to “Still image (4K)” using the remote control.
Press the [Red] button on the remote control in the [Basic settings] screen to go to the [Playlist settings] screen and view the contents stored in the monitor’s built-in storage.
Note:
Editing (renaming or changing selection) content directly on the internal storage using the [Playlist settings] screen may cause playback errors. Use the sample folder to create and edit data on your PC, and apply the data to the monitor via USB.
Update playback content method
When Playing Content via a USB Drive
Remove the USB drive from the monitor, edit the content, then reinsert it.
When Using Built-in Monitor storage
You can update in the management screen.
- Open [Basic Settings]
- Press[Yellow] on the remote control to access the content management screen
Remote control operations on the content management screen:
[Red] Delete selected content
[Green] Import content from USB folder